We often talk about the finished flight case: its black panels, corners, and casters. Much less often about what happens before. Yet between the moment a client describes their equipment and the moment the case leaves our workshop, a great deal takes place.
We invite you to step inside our workshop, near Rennes, and follow the complete journey of a flight case.
Step 1: understanding the need
Everything starts with a conversation. Before drawing anything, we need to understand what you're transporting and under what conditions.
Two scenarios arise.
Your need matches a standard format
We have developed a selection of standard flight cases based on the most common dimensions used in the field: trunks in 60×60, 80×60 and 120×60 cm, and 19-inch racks from 2U to 12U. These models are available from stock, with the option to add modular compartments to organise the interior. When a standard format meets the need, it's often the fastest and most cost-effective solution.
Your equipment has specific constraints
Here, we switch to custom mode. We study the project with you: exact equipment dimensions, fragile points, transport method, frequency of use, storage conditions, need to stack cases, requirement to access equipment without removing it.
Got technical drawings? We'll take them. If you have plans or technical files for your equipment, send them to us: they're the ideal starting point for our 3D designer, saving valuable time while ensuring maximum precision. No plans to hand? That's not a problem: photos, a manufacturer reference or the equipment itself allow us to take measurements and design your flight case.
Step 2: 3D design
This is the heart of our method: every flight case passes through the hands of our 3D designer.
From the brief, they model the case in its entirety: outer and inner dimensions, reinforcement positioning, foam and compartment layout, placement of casters, handles and cable access points.
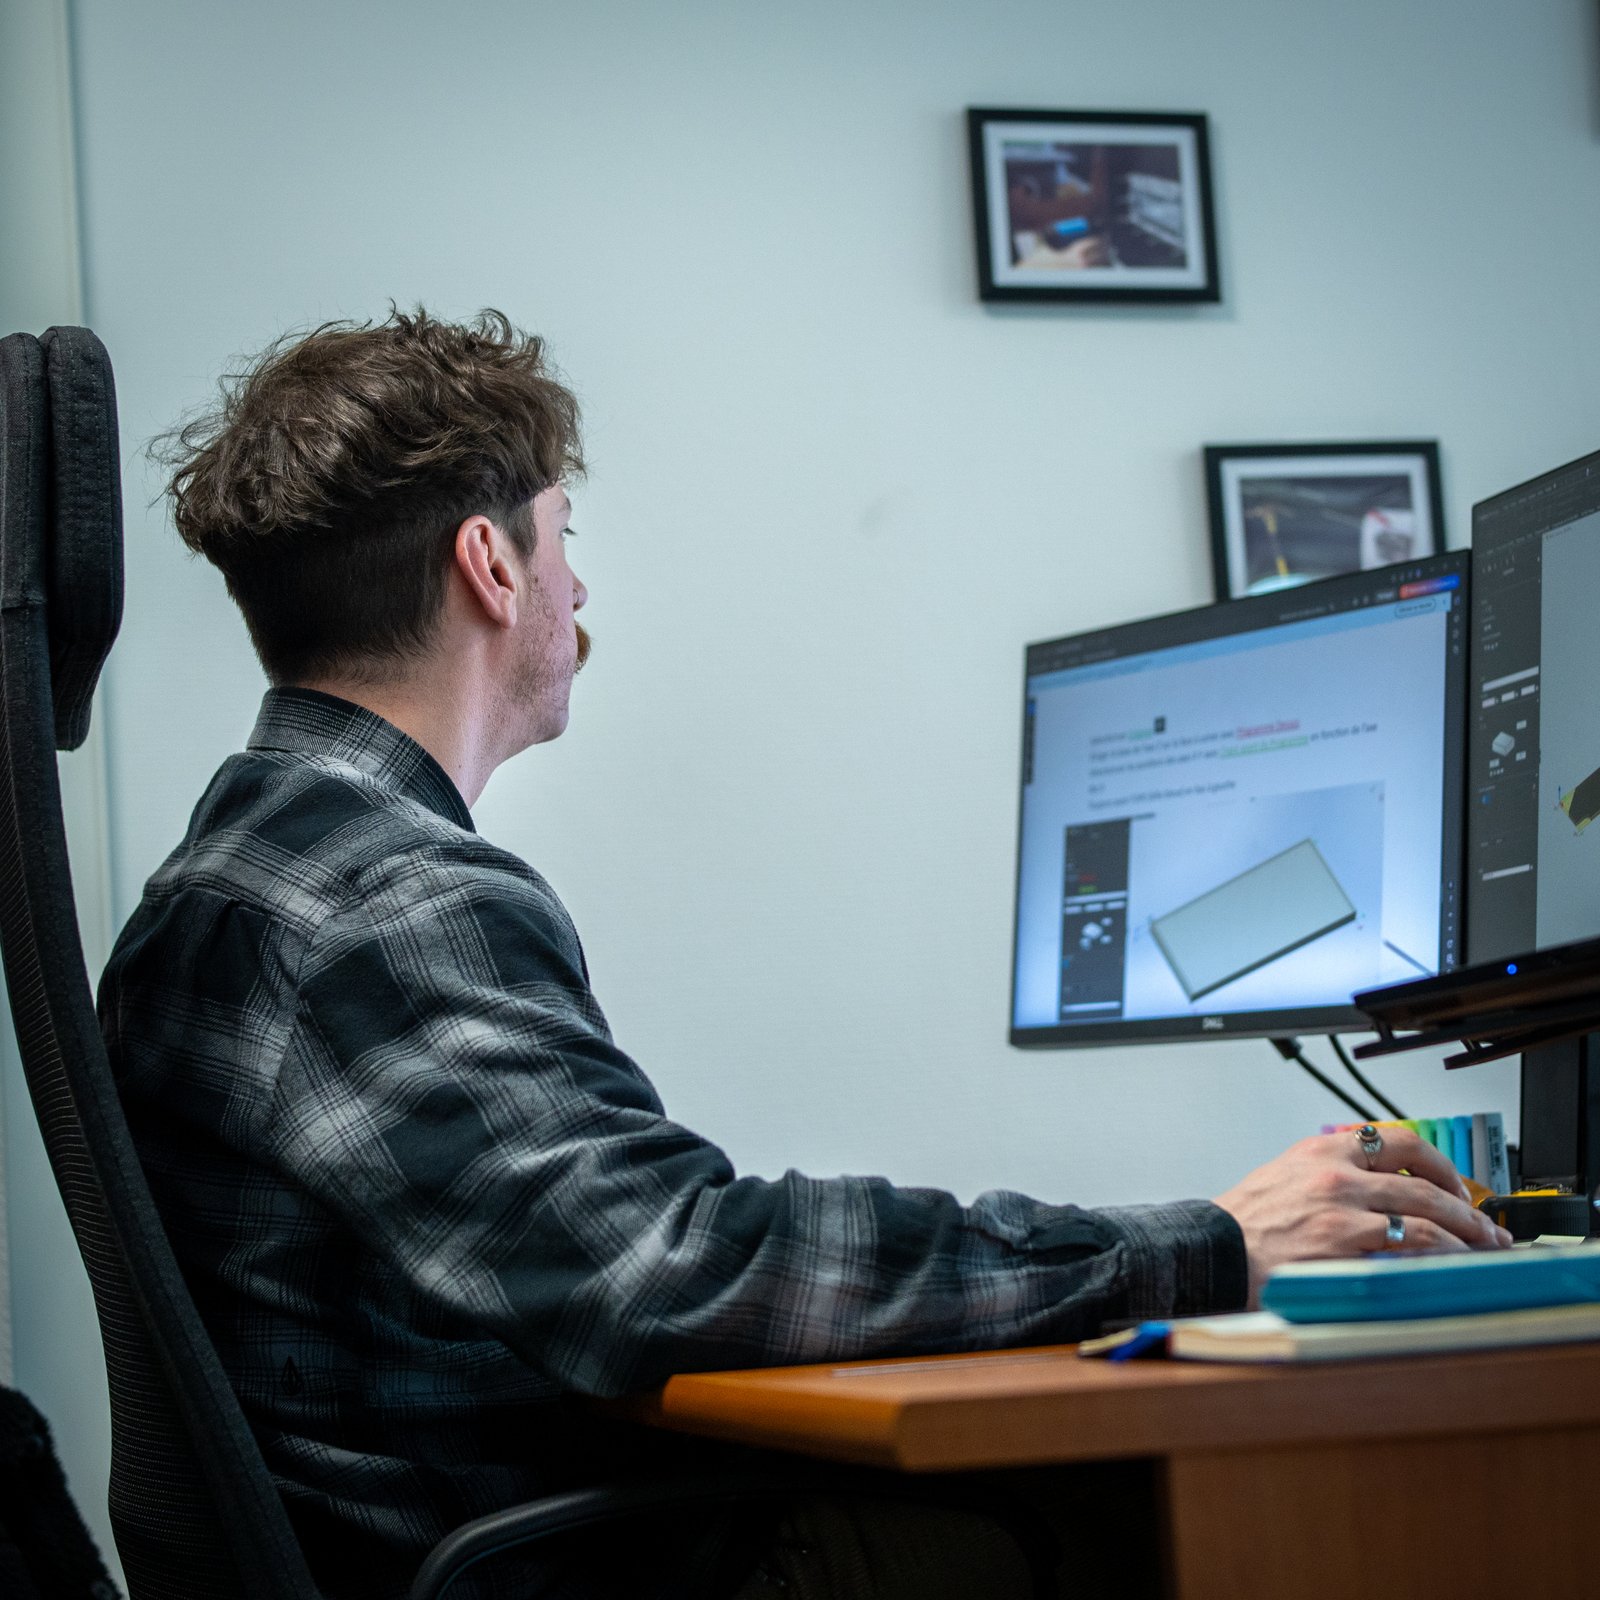
This step isn't a cosmetic extra — it's a safeguard. It allows us to:
- validate dimensions before cutting a single panel — one millimetre off on a foam insert and the equipment moves inside the case;
- check ergonomics: can two people carry the case? Does the lid open wide enough? Are the handles positioned relative to the centre of gravity?
- anticipate transport: footprint in a truck, stackability, final weight;
- show you the result before manufacturing. You receive a realistic 3D visual of your flight case and can request adjustments.
Nothing goes into production until you've approved it. It's the best way to avoid surprises at delivery.
Step 3: cutting
Once the design is approved, the project moves to the workshop. Birch plywood panels are cut using CNC machining, directly from the validated 3D file.
Going digital isn't a gimmick: it's what guarantees the manufactured case matches the designed case exactly. Dimensions are accurate to the millimetre, cuts are perfectly reproducible from one case to the next — essential when you're ordering a batch to equip an entire fleet — and complex machining (hardware recesses, cable runs, ventilation openings, specific shapes) is achieved with precision impossible to obtain by hand.
The accuracy of this step determines everything that follows: panels cut to the right dimensions mean a gap-free assembly and a lid that fits perfectly.
Step 4: assembly
This is where the case takes shape. Panels are assembled into aluminium extrusions, then comes the hardware: corners, butterfly latches, recessed handles, hinges, casters.
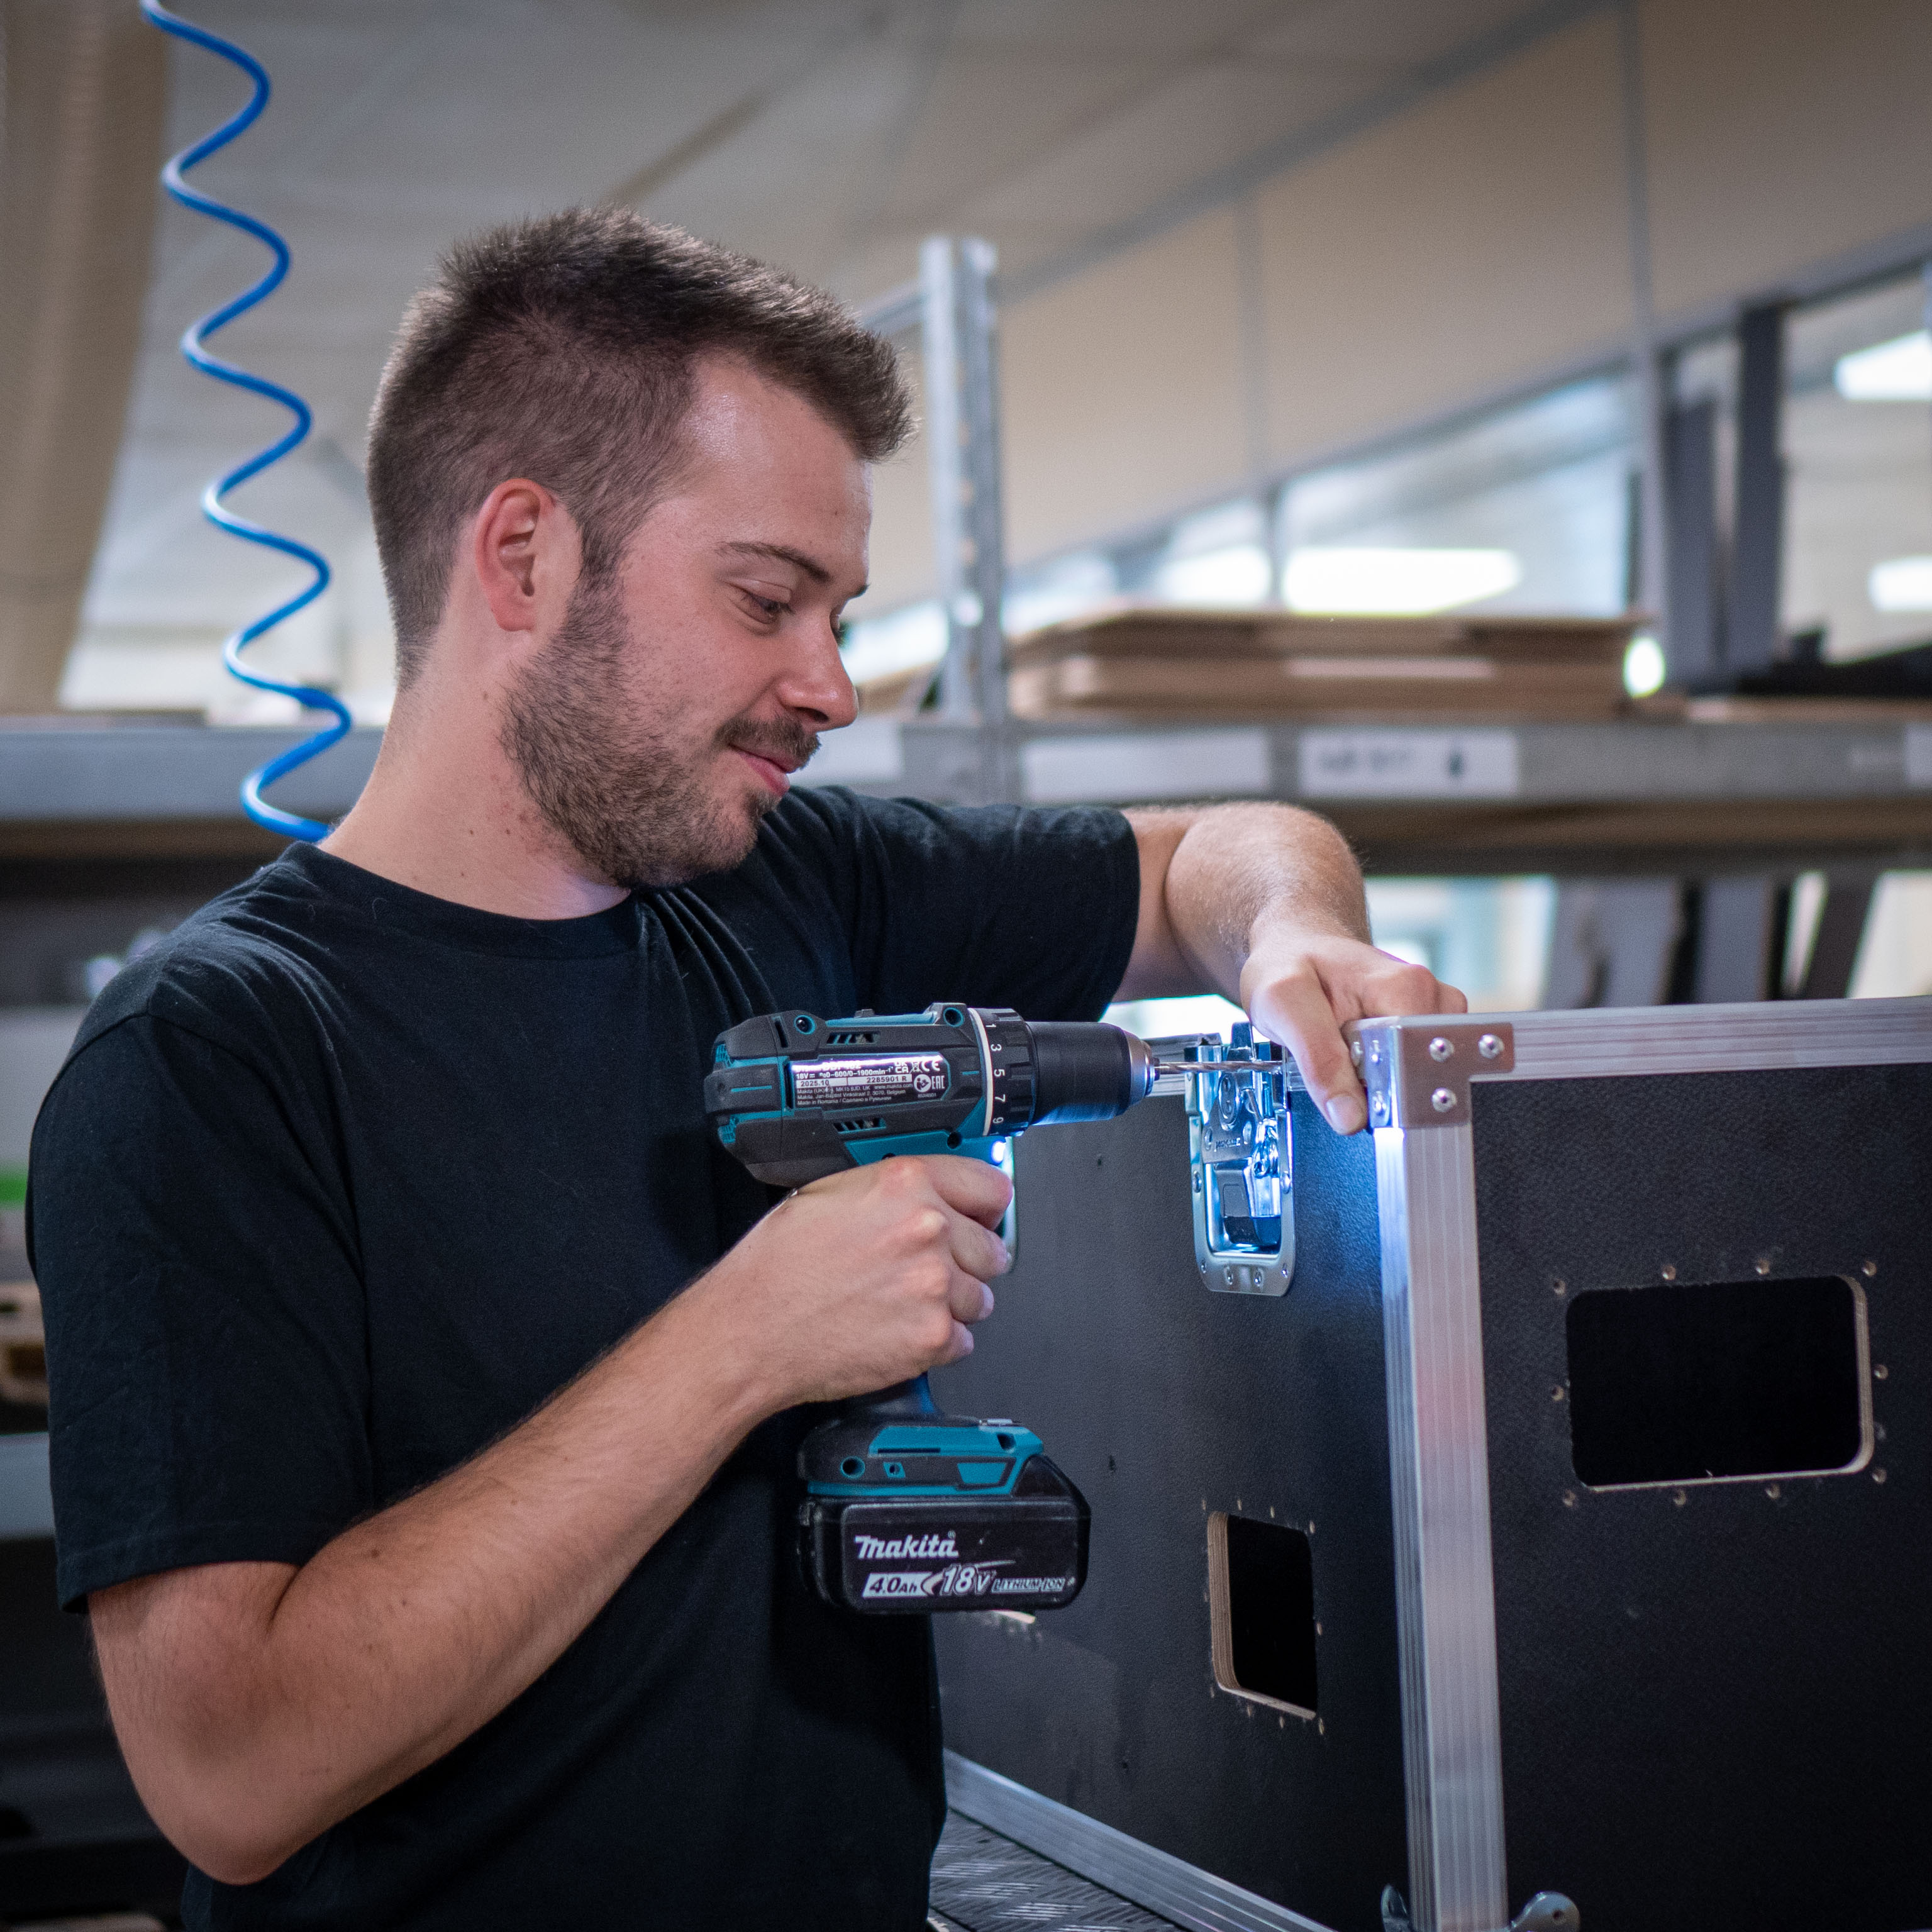
Every component is riveted. It's painstaking manual work: a misaligned latch means the lid won't close properly; a poorly set rivet will fail after a few tours. This is where our team's experience makes the difference.
Step 5: interior fitting
The shell is ready; now it's time to fit the interior. Depending on the project, this may include:
- custom-cut foam inserts, shaped to each piece of equipment;
- dividers and separators to structure the interior;
- drawers for accessories and small tools;
- front or rear doors for accessing equipment without removing it;
- dedicated cable compartments and brackets;
- specific options: integrated LED lighting, rack coupling systems, logo engraving, tour label slots.
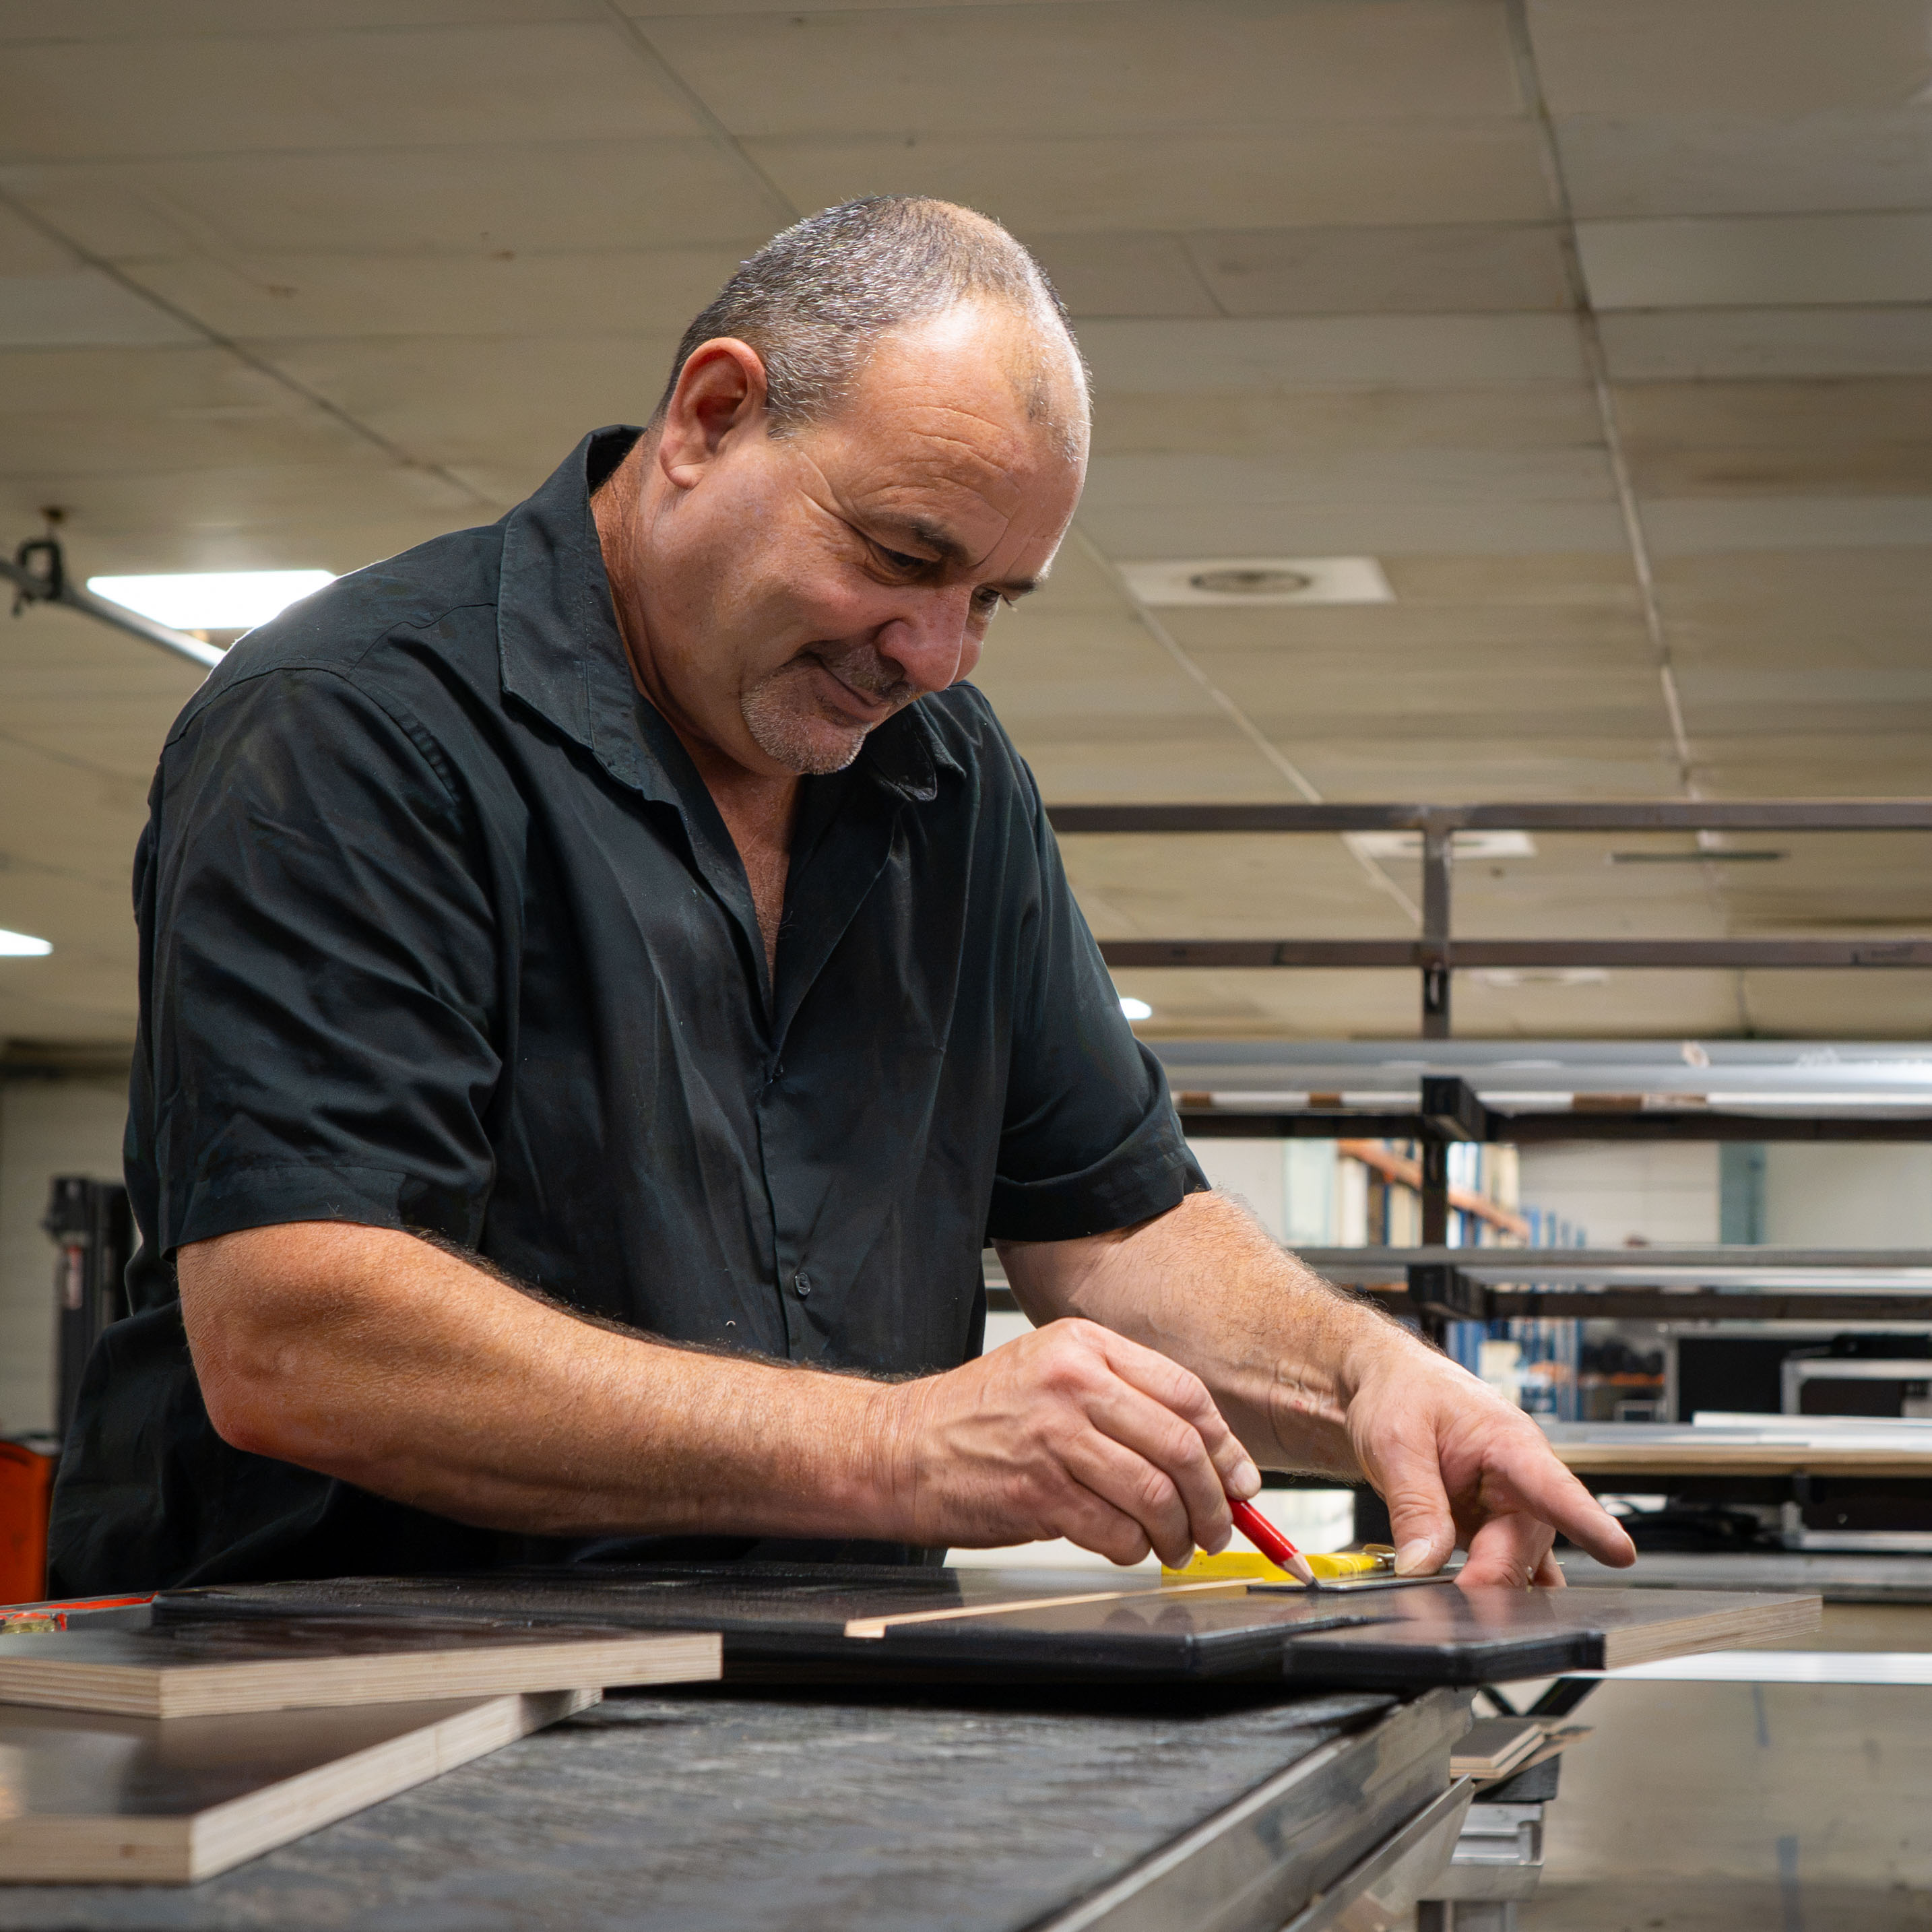
This is often the most personalised part of the project, and the one that changes day-to-day life for teams in the field.
Step 6: quality control
Before shipping, every flight case is inspected. We check:
- dimensions and conformity to the validated 3D design;
- lid opening and closing, extrusion alignment;
- hardware operation: latches, handles, hinges, casters;
- rivet integrity and overall finish;
- actual equipment fit when entrusted to us or when we have precise dimensions.
A flight case that leaves our workshop is a flight case ready to go on tour the very next day.
Step 7: delivery
Final step: shipping, throughout France and internationally. Our standard flight cases are available from stock for rapid deployment. For custom projects, the manufacturing lead time is agreed with you when the 3D design is approved, based on project complexity and the number of cases to produce.
Why this process changes everything
This seven-step journey explains one thing: with us, a flight case isn't a product pulled from a distant catalogue. It's studied, designed, cut, assembled and inspected in Brittany, by people you can call.
In practical terms, this means:
- a single point of contact, from the first conversation to delivery;
- adjustments possible at every stage, as long as manufacturing hasn't started;
- no minimum order: we manufacture from a single unit;
- a genuine after-sales service: a case damaged after two years on tour can come back to the workshop for repair, and we know exactly how it was built.
Got a project for us?
Describe your equipment and constraints: our design office studies every enquiry and offers a tailored solution with a detailed quote.